Schumacher XC103 User Manual
Browse online or download User Manual for Accessories communication Schumacher XC103. Schumacher XC103 User Manual
- Page / 48
- Table of contents
- BOOKMARKS
Rated. / 5. Based on customer reviews
00-99-001038/0610
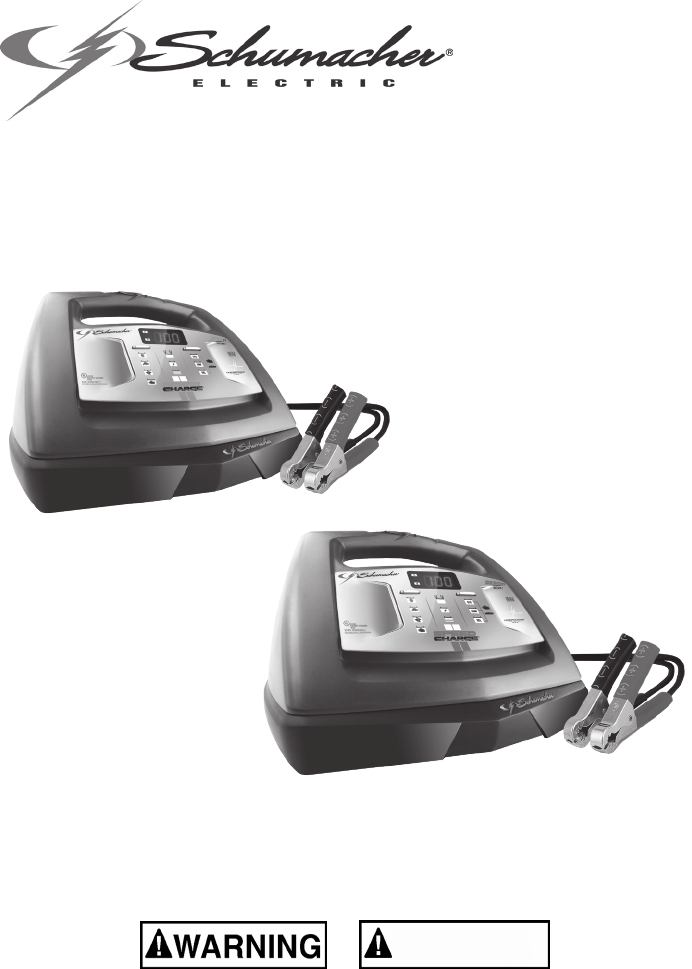
Models / Modelos: XC75 & XC103
READ THE ENTIRE MANUAL BEFORE USING THIS PRODUCT. •
FAILURE TO DO SO CAN RESULT IN SERIOUS INJURY OR DEATH.
LEA EL MANUAL COMPLETO ANTES DE UTILIZAR ESTE PRODUCTO. •
CUALQUIER FALLA PODRÍA RESULTAR EN SERIAS LESIONES O PODRÍA SER
MORTAL.
OWNER’S MANUAL
•
MANUAL DEL USUARIO
AutomaticBatteryCharger•Cargadordebateríaautomático
ADVERTENCIA
XC75
XC103
Summary of Contents
Page 1 - ADVERTENCIA
00-99-001038/0610Models / Modelos: XC75 & XC103READ THE ENTIRE MANUAL BEFORE USING THIS PRODUCT. •FAILURE TO DO SO CAN RESULT IN SERIOUS INJURY
Page 2 - A LA TIENDA!
• 6 •Donotfacethebatterywhenmakingthenalconnection.7.5 Connect charger AC supply cord to electrical outlet.7.6 When disconnecting the charge
Page 3 - TABLE OF CONTENTS
• 7 •CHARGER CONTROLS10. 123Charge Rate Button1. Battery Type Button2. Digital Display3. LED IndicatorsCONNECTED (red) LED lit: Indicates that the c
Page 4
• 8 •Battery Type Button Use this button to set the type of battery to be charged.Regular• –Setthebuttonto . This battery type is usually used
Page 5
• 9 •NOTE: Once the charger has started charging the battery; if you press the Charge Rate button once, the output current is shut off and the display
Page 6
• 10 •Battery Connection Indicator If the charger does not detect a properly connected battery, the CONNECTED LED will not light. Charging will not
Page 7
• 11 •Using the Engine Start feature Your battery charger can be used to jumpstart your car if the battery is low. Follow these instructions on how to
Page 8
• 12 •Using the Battery Voltage TesterOverview This battery charger has a built-in voltmeter to test your battery’s state of charge. The charger does
Page 9
• 13 •NOTE: The battery tester is only designed to test batteries. Testing a device with a rapidly changing voltage could yield unexpected or inaccura
Page 10
• 14 •XC75BATTERY SIZE/RATINGCHARGE RATE/CHARGING TIME3 AMP 5 AMP 10 - 20 AMP SMALL BATTERIESMotorcycle,garden,tractor, etc.6 - 12 AH 1¼ - 2½ hrs
Page 11
• 15 •MOVING AND STORAGE INSTRUCTIONS14. Store the charger unplugged, in an upright position. The cord will still conduct 14.1 electricity until it is
Page 12
DO NOT RETURN THIS PRODUCT TO THE STORE!Call Customer Service for Assistance:800-621-5485¡NO LO DEVUELVA ESTE PRODUCTO A LA TIENDA!Llame a Servicios
Page 13
• 16 •PROBLEM POSSIBLE CAUSE SOLUTIONThe charger is making an audible clicking sound.Circuit breaker is cycling.Battery is defective.Shorted battery c
Page 14
• 17 •PROBLEM POSSIBLE CAUSE SOLUTIONCharger will not turn on when properly connected.AC outlet is dead.Poor electrical connection.Check for open fuse
Page 15
• 18 •Manufacturer does not provide any warranty for any accessories used with this product that are not manufactured by Schumacher Electric Corporati
Page 16
• 19 •5 YEAR LIMITED WARRANTY PROGRAM REGISTRATIONMODEL:___________________ DESCRIPTION:___________________________ This is the only express limit
Page 17
• 20 •
Page 18
• 21 •IMPORTANTE: LEA Y GUARDE ESTE MANUAL DE INSTRUCCIONES Y SEGURIDAD.GUARDE ESTAS INSTRUCCIONES: Los XC75 y XC103 ofrecen una amplia gama de caract
Page 19
• 22 •INSTRUCCIONES IMPORTANTES DE SEGURIDAD - GUARDE ESTAS 1. INSTRUCCIONES - Este manual contiene instrucciones operativas y de seguridad de importa
Page 20
• 23 •RIESGO DE GASES EXPLOSIVOS.RESULTA PELIGROSO TRABAJAR EN FORMA CERCANA A UNA BATERÍA 1.10 DE PLOMO. LAS BATERÍAS GENERAN GASES EXPLOSIVOS DURANT
Page 21
• 24 •Si el ácido de la batería tiene contacto con su piel o su ropa, lave de inmediato 2.10 el área afectada con agua y jabón. En caso de que ingrese
Page 22 - DO NOT RETURN THE PRODUCT
• 25 •UBICACIÓN DEL CARGADOR4. RIESGO DE CONTACTO CON EL ÁCIDO DE LA BATERÍA.Ubique el cargador a la mayor distancia posible de la batería como lo per
Page 23 - (CONSULTEELPRODUCTO)
TABLE OF CONTENTSSECTION PAGEIMPORTANT SAFETY INSTRUCTIONS 2PERSONAL PRECAUTIONS 3PREPARING TO CHARGE 3CHARGER LOCATION 4DC CONNECTION PRECAUTION
Page 24
• 26 •En un vehículo con descarga a tierra por borne negativo, conecte el gancho 6.5 POSITIVO(ROJO)delcargadordebateríaalbornePOSITIVO(POS,P
Page 25
• 27 •CONEXIONES A TIERRA Y ENERGÍA DE CA8. EL RIESGO DE DESCARGA ELÉCTRICA O INCENDIOEste cargador de batería está destinado a un uso en 8.1 un circu
Page 26
• 28 •CONTROLES DEL CARGADOR10. 123Botón De Charge Rate1. Botón para establecer 2. diferentes tipos de bateríaPantalla Digital3. Indicadores LEDsLED C
Page 27
• 29 •Botónparaestablecerdiferentestiposdebatería Utilice este botón para establecer el tipo de batería a cargar.Regular• : Establezca el botó
Page 28
• 30 •Arranque de motor• –Proporcionaamperajealtoparaelarranquedeun motor con una batería débil o agotada. Siempre utilizar en combinación
Page 29
• 31 •NOTA: Estecargadorestáequipadoconunseguro-recticador.Estenopermitirá paso de corriente si las pinzas de la batería no están conectadas
Page 30
• 32 •Manteniendounabatería El cargador es un cargador de baterías con ajuste de mantenimiento que mantiene las baterías de 6 y 12 voltios cargadas
Page 31
• 33 •Notassobreelarranquedelmotor Enlasecuenciadearranquequeguraanteriormenteelcargadorseconguraen uno de estos tres estados:Esper
Page 32
• 34 •Indicación de Voltaje a 6 VoltiosIndicación de Voltaje a 12 VoltiosCondición de la Batería6.4 o Más 12.8 o Más Cargada6.1 a 6.3 12.2 a 12.7Neces
Page 33
• 35 •Arranque el vehículo y encienda las luces delanteras. Lea la tensión de 3. la pantalla digital. Si usted obtiene una lectura de entre 13.4 volts
Page 34
ÍNDICESECCIÓN PÀGINAINSTRUCCIONES IMPORTANTES DE SEGURIDAD 22PRECAUCIONES PERSONALES 23PREPARACIÓN PARA LA CARGA 24UBICACIÓN DEL CARGADOR 25PREC
Page 35
• 36 •XC75MEDIDA DE LA BATERIA/ CLASIFICACIONNIVEL DE CARGA/TIEMPO DE CARGA3 AMP 5 AMP 10 - 20 AMP BATERIAS PEQUEÑASMotocicleta, tractor de jardín
Page 36
• 37 •INSTRUCCIONES PARA EL MANEJO Y ALMACENAMIENTO14. Guarde el cargador desenchufado en posición vertical. El cable seguirá 14.1 conduciendo electri
Page 37
• 38 •PROBLEMA CAUSA POSIBLE SOLUCIONEl cargador hace un ruido leve pero audible.El disyuntor está en ciclo.La batería es defectuosa.Cables o pinzas d
Page 38
• 39 •PROBLEMA CAUSA POSIBLE SOLUCIONCiclo corto o sin comenzar al arrancar el motor.Está recibiendo más de proporción de arranque de motor.Falta de e
Page 39
• 40 •ANTES DE DEVOLVER A REPARACIONES16. Cuando surja un problema de carga, asegúrese de que la batería puede 16.1 recibirunacarganormal.Utilice
Page 40
• 41 •de garantía implícita, por lo que las limitaciones o exclusiones mencionadas anteriormente podrían no corresponder con su caso. La presente gara
Page 41
• 42 •
Page 42
• 43 •
Page 43
DO NOT RETURN THIS PRODUCT TO THE STORE!Call Customer Service for Assistance:800-621-5485¡NO LO DEVUELVA ESTE PRODUCTO A LA TIENDA!Llame a Servicios
Page 44
• 1 •IMPORTANT: READ AND SAVE THIS SAFETY AND INSTRUCTION MANUAL.SAVE THESE INSTRUCTIONS – The XC75 and XC103 offer a wide range of features to accomm
Page 45
• 2 •IMPORTANT SAFETY INSTRUCTIONS - SAVE THESE INSTRUCTIONS - 1. This manual contains important safety and operating instructionsRISK OF ELECTRIC SHO
Page 46
• 3 •This charger employs parts, such as switches and circuit breakers, that tend to 1.12 produce arcs and sparks. If used in a garage, locate this ch
Page 47
• 4 •Clean the battery terminals before charging the battery. During cleaning, keep 3.3 airborne corrosion from coming into contact with your eyes, no
Page 48
• 5 •FOLLOW THESE STEPS WHEN BATTERY IS INSTALLED IN VEHICLE6. A SPARK NEAR THE BATTERY MAY CAUSE A BATTERY EXPLOSION. TO REDUCE THE RISK OF A SPARK N
Related products and manuals for Accessories communication Schumacher XC103

 (8 pages)
 (24 pages)
© 2020, manymanuals.com. All rights reserved. | 0.075 s |
 Manymanuals.com
 Manymanuals.de
 Manymanuals.fr
 Manymanuals.it
 Manymanuals.pl
 Manymanuals.cz
 Manymanuals.es
 Manymanuals-pt.com
Comments to this Manuals